

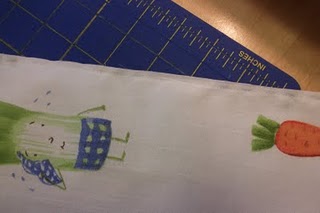
I love the cute celery sweating in the sun and the potato with a shovel. I had no idea what I was going to make with it. It came on a three yard mini bolt, so I had some options. I try to be eco-friendly whenever I can, and really didn't like the fact that I had to use plastic bags to get fruit and veggies at the store, so I decided to whip up some produce bags.


I cut the fabric to 14" x 17" and then started making my drawstring bag. I used a french seam for these. I don't always use a french seam but wanted to make sure there wouldn't be any stray fabric threads inside the bag. If you had a serger, that could probably work instead. If you are unfamiliar with a french seam, you take your two fabric pieces with the wrong sides together and sew your side/bottoms seams. My seam allowance for the first seam was about 1/4".
Clip your corners and turn the bag inside out. It helps to iron your seam to the side before turning inside out. Iron the bag with your seams at the very edge.

Your fabric print should now be on the inside of the bag. Sew around the side and bottom seams once more using a 1/4" or 1/2" seam allowance. Make sure to include the seam edgings you just created in step 1. This is the french seam on the inside of the bag! No stray threads and a nice finished seam!

Now for the top casing; I folded over the top edge about 1/2" and ironed all the way around.
Then I folded that over another 1".

This size would depend on the width of the drawstring you were using. I bought a bulk lot of ric- rac and seam binding on Ebay years ago, and although I have gone through a lot of it, I still had quite a few things I just didn't think I would use. I had some seam binding tape and thought it would be perfect. It is very lightweight, and I thought it would hold up just fine. I also used some single fold bias tape ( I normally use double fold for my projects), that I just sewed a zig zag stitch down the center of to keep the seams together.
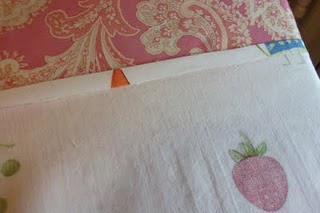
I wanted to make a buttonhole for my drawstring to go through, so I folded up the casing I just ironed a bit and marked where I would need the buttonhole to start, and sewed it up. Remember to only sew through one layer of fabric, do not sew through the casing you just folded down. Then I cut the buttonhole open and re-ironed my casing down.


Once the buttonhole is done and your casing is ironed down, sew along the very bottom edge of the casing to close it up.

Then feed the drawstring through, tie a knot in the end and you are done!

While the bags may add a minimal amount of weight to produce at a store that sells by weight, these are actually really light. I used them at Trader Joe's, which sells by piece and the farmers market and got rave reviews! People really loved the idea. I use reusable grocery bags, why not reusable produce bags too?! :)
This was my very first tutorial, so please let me know if you see this and have any questions!
Linking to...


0 comments:
Post a Comment